Sunday, January 22, 2012

Wheat Italian Bread

IMG_3057

I have to say,  I was skeptical of this particular recipe, but I wanted an alternative to white bread. I decided to give it a shot.

I found the following recipe from Food.com.
  • 1 1/4 cups water (105-115 deg.F.)
  • 2 tablespoons light brown sugar or 2 tablespoons dark brown sugar
  • 1/8 teaspoon ground ginger
  • 1 1/2 teaspoons salt
  • 1 1/2 cups bread flour
  • 1 1/2 cups whole wheat flour
  • 1 package active dry yeast
  • 2 tablespoons cornmeal , for dusting baking sheet

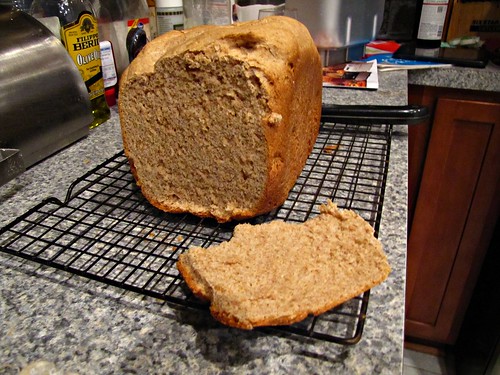
I added all ingredients (except cornmeal), in the above order to the bread machine. I ran it on a dough cycle, which took about 1 hour and 50 minutes.

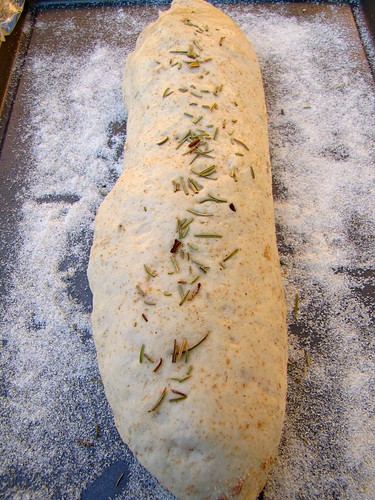
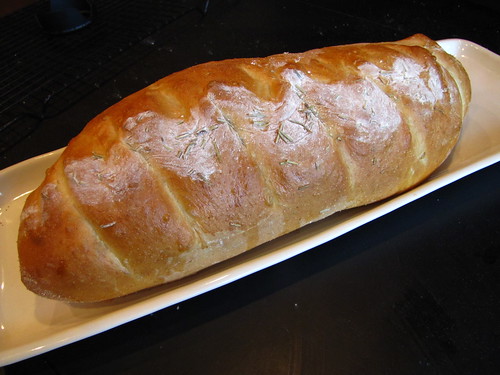
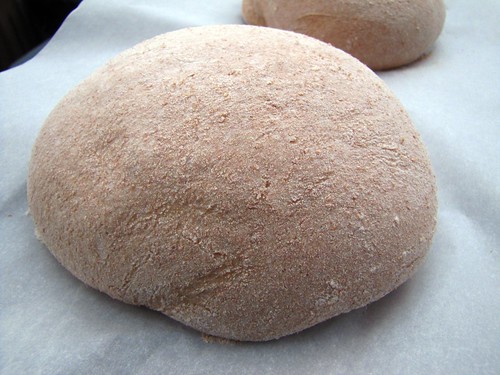
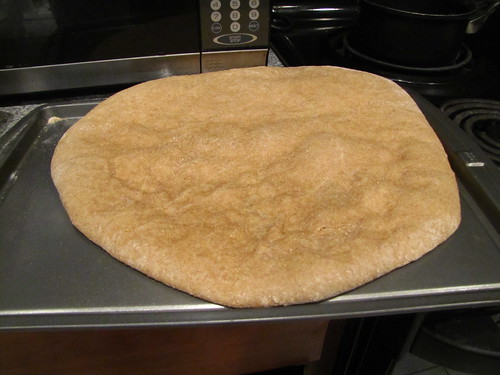
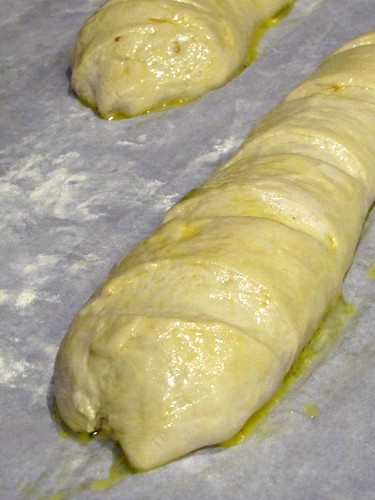
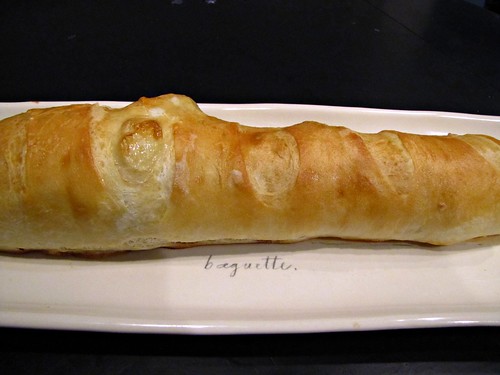
Turn it out on to a floured surface and split it in two. Then roll it out into approx. a 5" x 12" rectangular shape. Roll from the long end, then seal the seams.  Grease a cookie sheet and sprinkle on cornmeal. Place bread loaves seam side down and cover with a wet towel. Let rise about 45 minutes or until doubled in size. Create 4-5 slashes down the bread and brush with water. Sprinkle with whole wheat flour.  Bake for 15-20 minutes on 400. Eat warm. This last part is super important.

IMG_3056

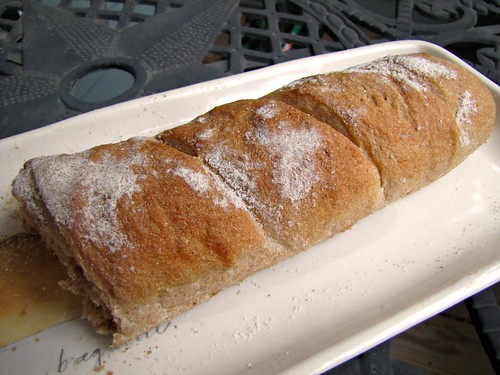
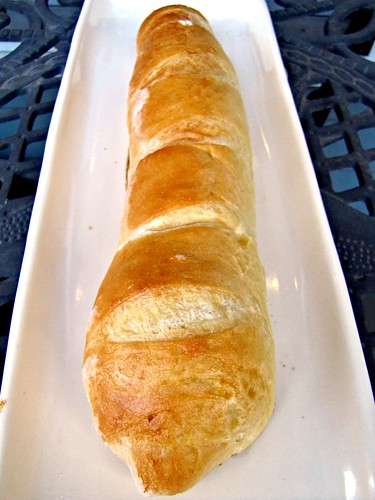
This bread was tasty. I also roasted up some wonderful garlic but the hubsters threw it away before I could snap a photo. What kind of heathen throws away a head of delicious roasted garlic. I thought about pulling a "George Costanza" and picking it out of the garbage to eat it, but thought better in front of the children. I can just image them doing the same thing at someone's house or at school. Oh, the horror.


All in all, this bread was tasty but missing the crunchy delicious outer crust that I love on bread. Then again, I wasn't going for French bread, I was going for Italian, so it hit the spot. I can see this being even better with the garlic put in the dough. Next time. All in all I rate it a 7 for being soft, tasty and better for me then all white bread.


Sunday, January 15, 2012

rosemary italian bread

the winter break was over and school was back in session. my schedule inevitably became more insane, leaving little time in the day for bread making and picture taking. don't' fret, i still worked up five or six loaves in that time, but photos were just not happening.

today, though, I was able to make a loaf for dinner at a friend's home this evening. I'm hoping for a delicious bread to take over to enjoy with home made pasta. we spiced up a rather simple recipe with some garlic and rosemary.

we are hoping it doesn't suck.

The recipe was adapted from Food.com

Ingredients


1 cup water, warmed
2 tablespoons olive oil
2 teaspoons sugar
1 1/2 teaspoons dry yeast
3 cups all-purpose flour
1/2 teaspoon salt
1 whole egg whites
2 tablespoons cornmeal

Directions

  • Add into bread machine container, warmed water, olive oil, sugar, yeast. Let yeast foam a bit.
  • Dump in flour (start with 2 1/2 cups); add salt on top of flour. 
  • When the machine beeps to "Add", I added a tbsp rosemary and garlic. I really wanted a garlic flavor, but was out of fresh garlic. Powder it was.
  • Turn on bread machine to dough setting. Watch for the first bit and add flour as needed to get a good dough. (elastic and not sticky).
  • Get cookie sheet ready by lightly oiling with olive oil and sprinkle on cornmeal.
  • Form dough into loaf and set on cookie sheet with tea towel to cover until doubled in size.
  • Preheat oven to 375*F.
  • Cut slits diagonally in loaf with sharp knife. Brush with egg white.
  • Bake in preheated oven for 20-25 minutes, until golden brown and when you knock the bottom of bread it sounds hollow.


IMG_3042

One thing I did before baking was sprinkle flour over the rosemary on top. I read that it will keep it from burning. I also don't have a brush yet, so I had to spoon egg white on to the bread. It came out a bit uneven. I cooked for the full 25 minutes. It smells divine. Taste is yet to be determined....I'll let you know after we cut it at dinner.

IMG_3051

Monday, January 2, 2012

now that is a better loaf

A second post in one day? I promise I'm only making up for tomorrow where it is rather likely that there will be no bread making happening in this house.

You may remember in the baguette post my complaining about dense bread. A friend on Facebook suggested I try something different. Something...that breaks the rules...I didn't put the yeast in last. And I didn't keep it away from the water. Eek! The recipe suggested putting the water, yeast and sugar in the pan first and letting it sit for 10 minutes. Then I added the rest of my ingredients, adding the flour and salt last. You can find the recipe my friend posted called "Best Bread Machine Recipe." I actually used the Zojirushi recipe for 100% whole wheat bread, 1.5lb.

whole wheat loaf

My friend told me it would produce a much lighter bread and it did. It is delicious. I'm not going to rate it until I have a good slice. I only had a half of piece to try it, but the rest is going to the kids school for their daily soup contribution. I'll be making myself a loaf very soon for lunches and I'll update when I have  decent sandwich made from this delicious smelling bread.


whole wheat loaf

whole wheat pizza....oh the carbs.

I've been counting calories for about a week. It is amazing what a wake up call this is. You have no idea how many calories are in the pasta or just how small an actual serving is until you measure it. Then comes the realization that you have been eating for something like six to eight people all these years.

Unfortunately, I went shopping for this week's food before I started counting calories, so I'm stuck with what I've got. I'm looking for ways to amend to stay with in my calorie limitations.

Tonight, we are going for whole wheat pizza crust. Grabbed the recipe from....you guessed it...Allrecipes again. I swear I'll venture outside of that site at some point. Right now, they just always come up in a Google search. Plus, this one was so much healthier then others I had found.

We did adjust this recipe a wee bit, but I don't think it hurt the nutritional value. (although, I will calculate it later today.)

Here is what I did

  • 1 teaspoon white sugar
  • 1 1/2 cups warm water (110 degrees F/45 degrees C)
  • 1 tablespoon active dry yeast
  • 1 tablespoon olive oil
  • 1 teaspoon salt
  • 3.25 cups whole wheat flour
  • 3 tablespoon vital wheat gluten

I added the ingredients in the following order: water, salt, sugar, olive oil, flour, gluten, yeast. Ran them through a quick dough cycle and turned them out on to a floured surface. I opted to cut mine in half for two smaller pizzas. (The recipe suggested that this would make thin crust, but I didn't find this to be the case.) I folded each in to a ball where  they would sit and rise for another 45 minutes.

whole wheat pizza dough

At the end of the 45 minutes, they looked like this (again, please pardon the photos from here on out. They are taken in the evening, with a crappy camera at a high ISO. I swear, I have a new DSLR camera on order. Soon, low light pictures will no longer be an issue. Promise. (Now stop complaining about the crappy pictures.)

IMG_3003

Then, the fun part...flattening them out. You should know, I made another mistake. The recipe didn't call for covering them with a wet towel as they rose, but I'm thinking I should have because the dough formed a crusty outer layer when I stretched it out. I won't bore you with that picture, mostly because I didn't get one worth sharing.

What I will note is upon reading the recipe comments, someone suggested baking the crust for about 5 minutes before adding the toppings. This sounded like good advice because last time I made pizza, the cheese got a little browner then we typically like.

IMG_3011

This made a world of difference in my opinion. This is what the looked like post a pre-baking. I threw on the sauce, cheese and so many vegetables, you couldn't even see the crust...tomatoes, olives, spinach, onions OH MY!

And sadly, I was so excited to eat, I didn't get a single picture of it done. This earns it an eight. The crust was tasty, healthy and delicious. I was able to eat three slices and it was so good. This is earned its place on the permanent dinner rotation. I suggest you give it a go. You won't be sorry! Promise!

ce n'est pas une baguette

Today, we embarked on a baguette journey to celebrate the first day of 2012. I hope your year ahead looks promising and brings health, happiness and bread.

IMG_2990

We found a simple, fail proof recipe from our dear friends at Allrecipes. I like to keep it simple on these early parts of our journey. No sense in jumping in head first.

Problem is, despite all the great reviews, it was not in fact fail proof. Or, I should say, it wasn't what it claimed to be. As the title states, "that is not a baguette".

The recipe calls for....
  • 1 cup water
  • 2 1/2 cups bread flour
  • 1 tablespoon white sugar
  • 1 teaspoon salt
  • 1 1/2 teaspoons bread machine yeast
  • 1 egg yolk
  • 1 tablespoon water

    Place the first five ingredients in to your bread machine, in the order suggested by your machine. I did water, sugar, salt, flour then yeast.


    I left the machine on Quick Dough (I used rapid rise yeast.) and 45 minutes later, I turned it out, into a well greased bowl (olive oil) and allowed it to double in size. This took about 40 minutes. Afterwards, I formed it as called for by the recipe. I didn't punch down as the recipes states, instead I turned the dough as suggested by this blogger. I held it in my hands and let it droop down, folding over itself. Then left it to rise for another 30 minutes.


    So, these aren't the best dough pictures as it was later when I made this bread, the sun was setting and the pictures was taken indoors at a high ISO.


    IMG_2977

    Here we have the ready to bake bread. It went in to the oven for the 25 minutes, suggested.

    Some things I screwed up....because yes, I'm still new at this. I didn't make it long enough or thin enough. It was probably to short and stumpy to be considered a well formed baguette. Also, one end is thicker then the other. Kind of considerably. Oops. Other then that, I did as told like a good little baker.

    Some things that were just screwed up....it wasn't crusty. At all. I had read that on some comments but I tried this recipe anyhow. It was also way to dense. Baguettes are light and chewy. This was not in anyway light.

    But here it is. I mean, don't get me wrong. We ate it.

    not a baguette

    Begrudgingly....

    No one even asked for seconds of the bread. It was that kind of eh. Final rating. A two. For not being what it claimed and for not being loved by the family. I didn't even bother asking anyone what they thought. For being too dense and not crusty. Pour ne pas ĂȘtre une baguette.